The Datably Database stack provides the core data services, such as:
- Connection Management for MySQL, PostgreSQL, sqlite3
- Caching
- TreeQL - SQL-Interface
- Security Features (app firewall, CORS)
Driver - select the driver for your database: MySQL, PostgreSQL, sqlite3

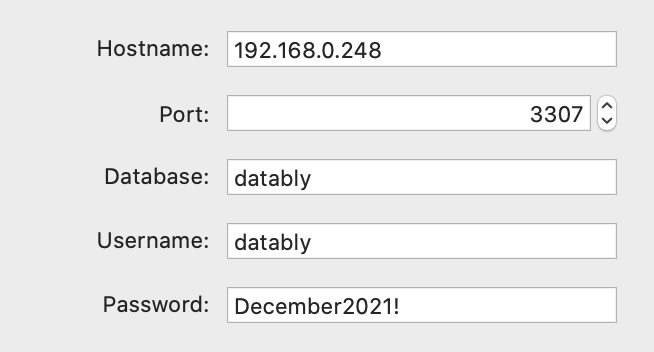
Hostname - enter the hostname or IP address of the database host
Port - enter the port of the database server. In most cases, you can leave the default value as-is
Database - enter the name of the database
Username - enter the user name for the database connection
Password - enter the corresponding password
Port - enter the port of the database server. In most cases, you can leave the default value as-is
Database - enter the name of the database
Username - enter the user name for the database connection
Password - enter the corresponding password
Filename - enter the file name of the sqlite database file. If necessary specify the entire path

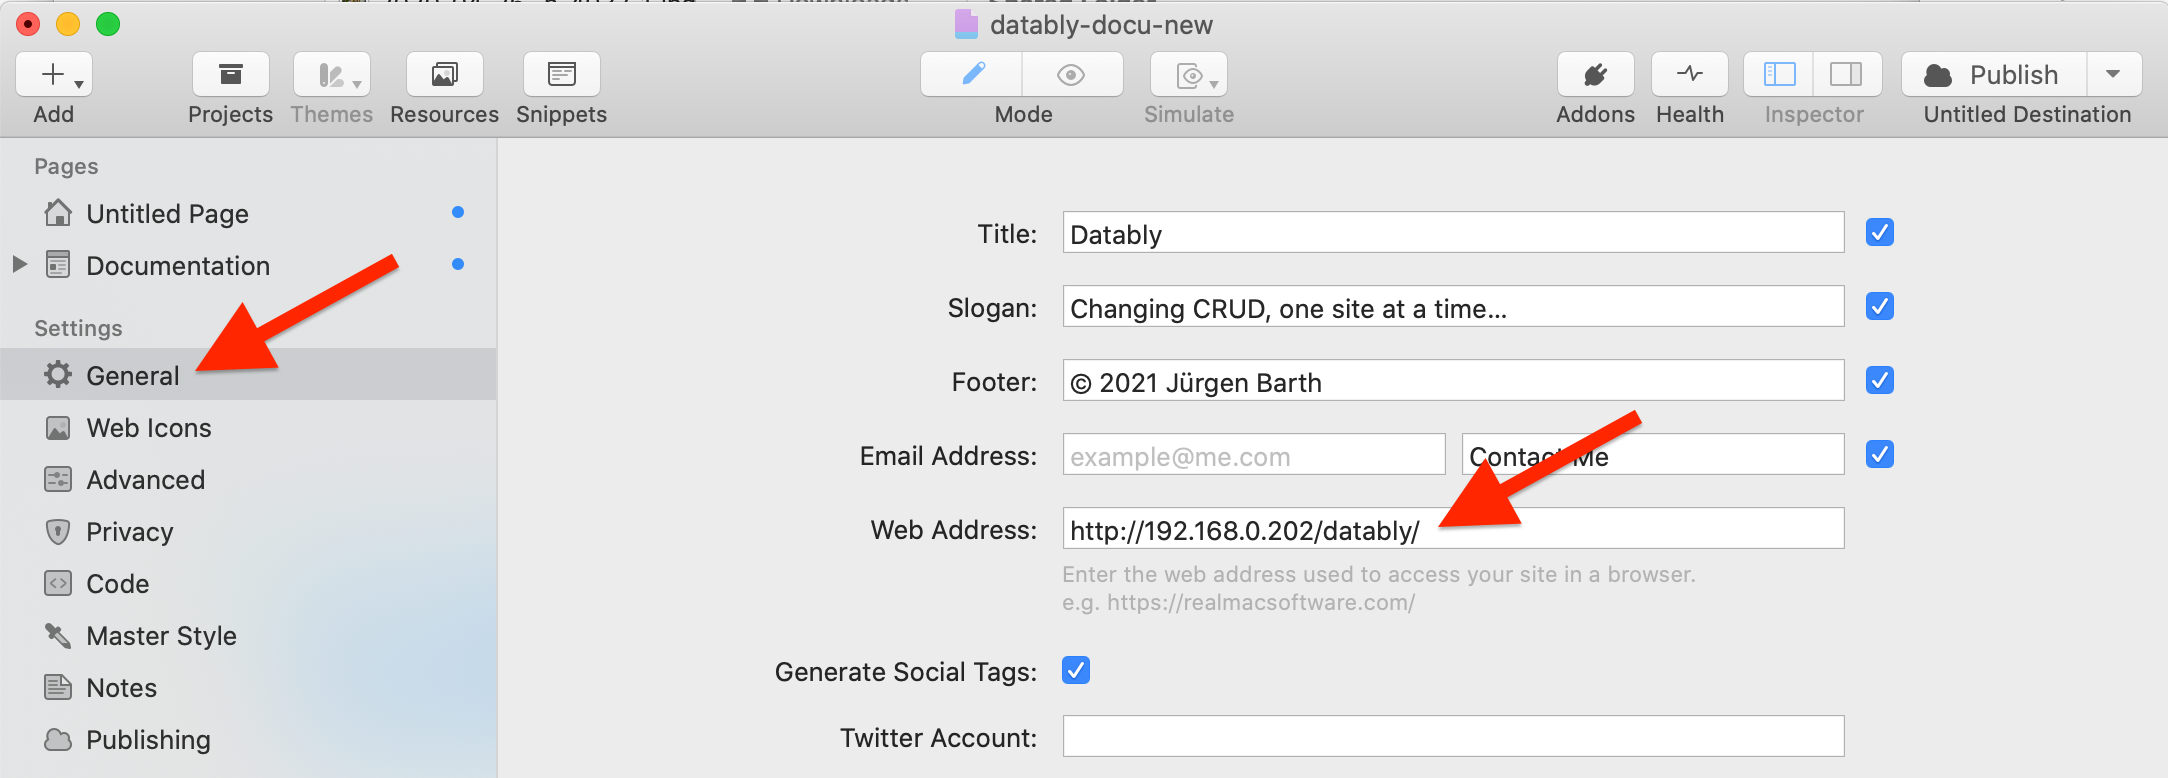
Complete your project data under "Settings —> General", particularly the field "Web Address".
This field must contain the address from which your CRUD page will be reachable. Otherwise Preview and other related features will not work!
This field must contain the address from which your CRUD page will be reachable. Otherwise Preview and other related features will not work!
Now it is time to publish your project. Don't worry if there is nothing to show yet. This step is necessary to put the Database Stack at the right place so that you can preview your work in the next steps.
You will have to configure your publishing data under "File —> Publishing Settings".
Remember to re-publish once you change a setting in this stack!
You will have to configure your publishing data under "File —> Publishing Settings".
Remember to re-publish once you change a setting in this stack!
Datably implements CORS (Cross Origin Resource Sharing) features for the communication between the frontend (I.e. the web interface) and the backend (I.e. the Database Middleware). If you want to learn more about CORS, this is a good starting point.
CORS is notoriously difficult to debug, so at this point you can leave the default setting ("All") enabled and come back to this at a later point when you feel comfortable to configure it.
CORS is notoriously difficult to debug, so at this point you can leave the default setting ("All") enabled and come back to this at a later point when you feel comfortable to configure it.
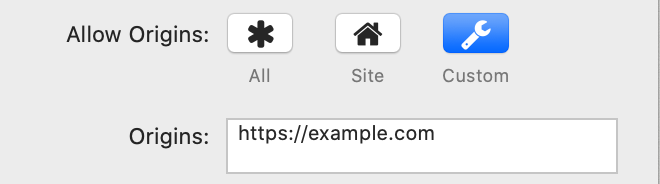
Allow Origins - specifiy the allowed origins for CORS requests, I.e. clients from which domains are allowed to contact the Datably Middleware:
- All - sets allow-origins to '*' and permits all clients
- Site - determines the Site's FQDN from your RapidWeaver project
- Custom - enter your own Domains. This can be a comma separated list
The Database Stack basically opens the database up for interaction. Often, you do not want to expose all types such as Create, Edit, Delete, since this has security implications. For a simple Display page, you should turn this off.
Allowed Methods - enable/disable CRUD related functionality individually by Create - Update - Delete; if you disable all options, you get a read-only database interface, therefore maximising security.

Datably provides further security settings. Once you are ready to finally publish your site, you can come back to these settings and configure them according to your environment.
Behind Reverse Proxy - enable this checkbox if you are running Datably behind a reverse proxy
Activate Firewall - if this checkbox is selected, you can enter a comma separated list of allowed IP addresses, either single addresses or networks in CIDR notation.
Activate Firewall - if this checkbox is selected, you can enter a comma separated list of allowed IP addresses, either single addresses or networks in CIDR notation.